How to Manufacture a Toy: From Sketch to Mass Production
To manufacture a toy, turn your concept into a defined design, approve a physical prototype, choose the production process, and confirm samples before mass production. Painting, quality checks, packaging and shipping follow. The most useful starting point is a clear project brief: what the toy should look like, how it will be used, how many you need and when you need it.
Start with a brief that a factory can quote
A drawing shows the character; a production brief explains the product. Include the finished height, front and side views, intended audience, color references, moving parts, accessories and quantity per design. State whether the quantity is for one color or split across several versions. A request for 100 pieces in one color is different from five separate colorways of 20.
Describe how the toy will be handled. Is it a shelf collectible, a poseable figure or a large display piece? Flag fragile details, parts that must fit together and any packaging restrictions. If your launch has a fixed date, include the destination and required arrival date rather than just the desired factory completion date. Keep one version of the brief as the agreed reference.
Prepare the design files and approve a prototype
Naluga's published PVC figure service accepts STL and OBJ files and offers conversion from a 2D design for an additional fee. Label the intended dimensions clearly; a file alone does not tell the manufacturer which scale you want. Supply matching color references and explain which details are essential to the character.
A physical prototype is the point to review proportions, balance, assembly and the way small details read at actual size. Ask for views from the front, sides and back, plus close-ups of the face and connecting parts. If you request changes, collect them into one annotated revision list and approve the revised version before moving to tooling.
Treat the prototype as an approval step, not a promise that every production material will feel identical. Ask which features the sample demonstrates and which must be checked again using parts from the production molds. This keeps visual approval separate from material and fit approval.
Choose the material and process before tooling
Choose the production route around the design and intended use. Naluga lists PVC figures, soft vinyl and sofubi toys, and fiberglass sculptures among its services. For an injection-molded figure, discuss how the sculpt divides into parts and where assembly joins will sit. For a hollow vinyl design, discuss the body shape, openings and the appearance you want after painting.
Ask the manufacturer to explain the proposed material and process together. Do not assume every product described as a vinyl figure uses the same manufacturing method. A small poseable figure and a large display sculpture need different discussions, even when they share the same character design.
For a closer look at one route, read our vinyl toy factory walkthrough. It covers molding, trimming and decoration in more detail; this guide focuses on the decisions and approvals across the whole project.
Confirm tooling and review trial parts
Before authorizing molds, agree on the final sculpt, part breakdown, quantity and finish. Ask which changes remain possible after this approval and how a later design change would affect the quote and schedule. Keep the approved files and images together so the production team has a clear reference.
Once molds are ready, review trial parts before approving the full run. Check the assembled silhouette, visible seams, fit and stability. Where parts move or detach, request a demonstration rather than relying only on a still photograph. Note each change against a specific part or image, then confirm whether another sample is needed.
An approval record can be simple: design version, sample photos, requested corrections and a written decision to proceed. It gives both sides a shared reference if a later batch looks different.
Approve painting and quality checks
Separate the sculpt approval from the paint approval. Specify the base color, painted areas, facial details and intended finish. Request a painted reference sample so the manufacturer can see the result you expect, including the edges between colors and the treatment of recessed areas.
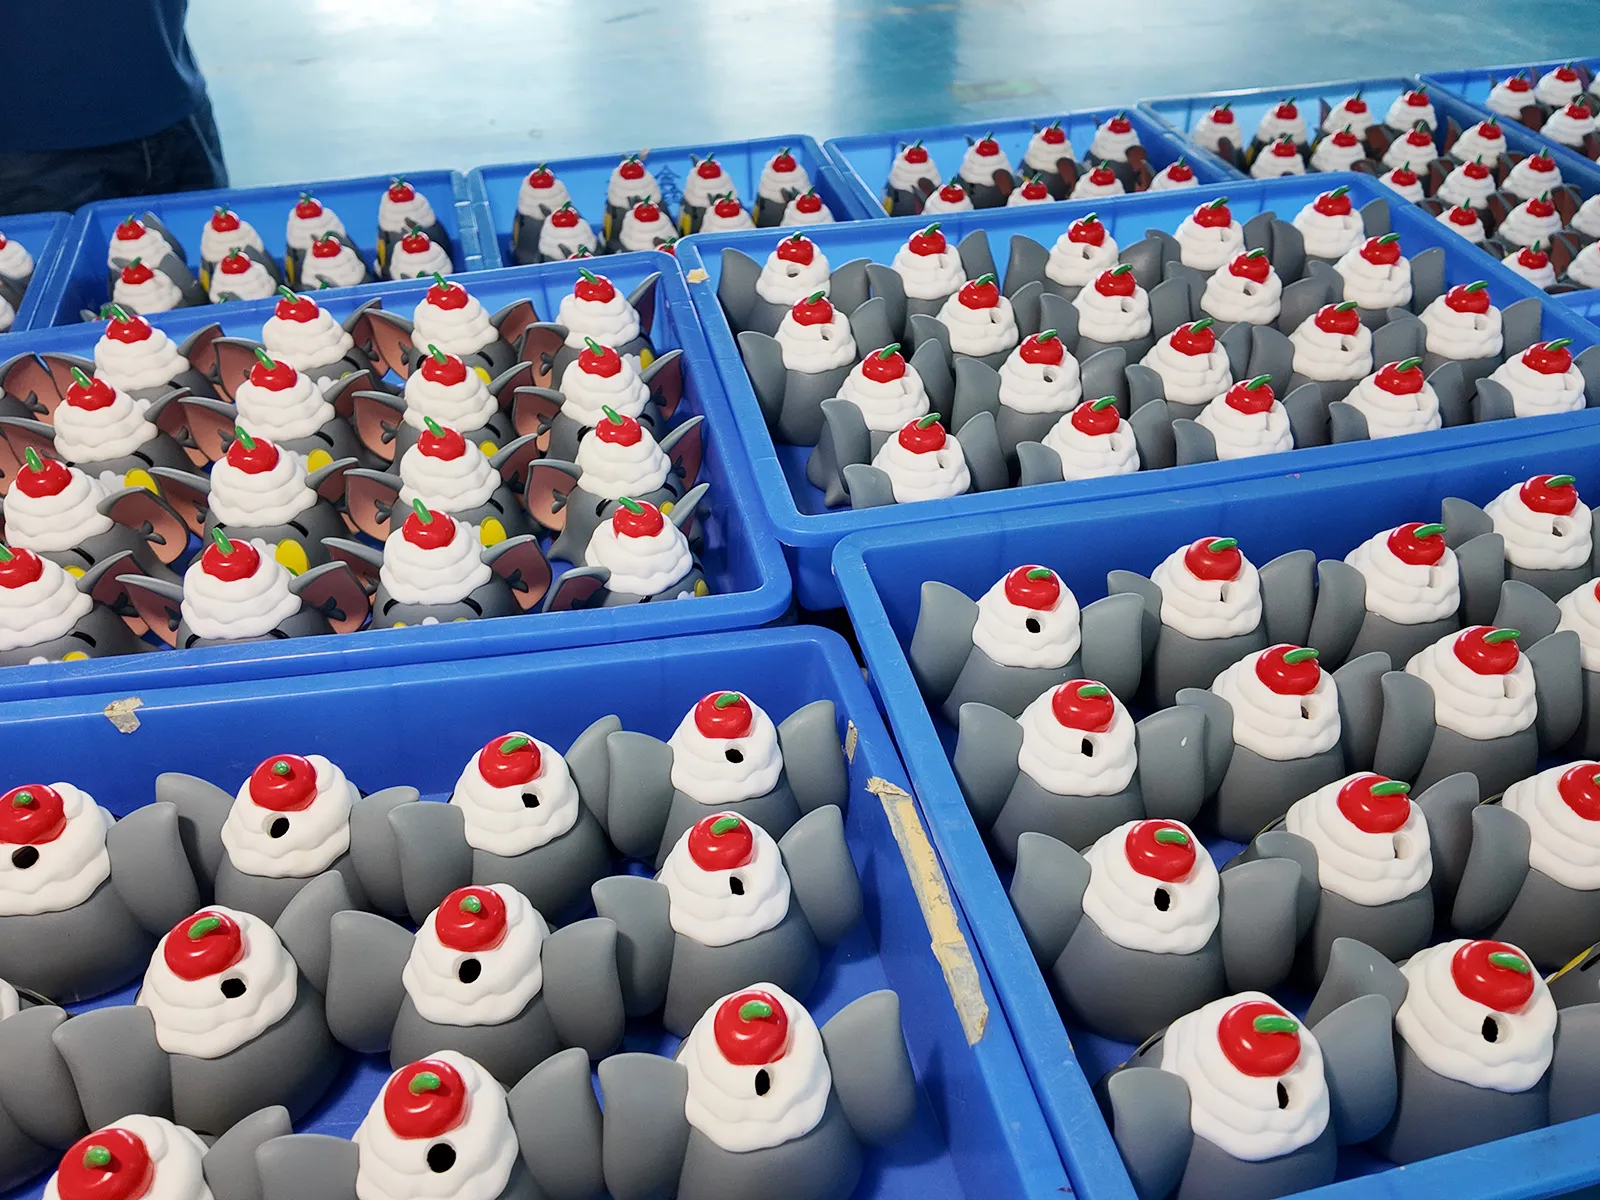
Naluga's published production walkthrough shows hand painting, pad printing and spray painting as decoration methods. Ask which method is proposed for each detail and whether a simpler color layout would suit your quantity better. Agree on a practical inspection checklist: appearance, assembly, completeness and the functions your design requires.
Keep the approved reference available through production. Naluga's service FAQs describe progress photos and videos at key milestones. Use those updates to resolve visible discrepancies while the work is underway, and agree separately on final inspection and acceptance arrangements.
Plan packaging and delivery before the last step
Packaging is part of the product brief. List everything that must be inside the box, including accessories, inserts and any display base. Share artwork and dimensions early, then check that the approved figure and accessories fit the proposed arrangement. Naluga asks customers to raise special packaging requirements before packing begins and offers packaging photos for approval.
Include the intended sales market and audience in the discussion so any applicable testing, labeling and documentation can be identified before production. A photograph of a finished toy does not establish those requirements or show that they have been met. Keep packaging approval and any required compliance work as separate items in the project plan.
Confirm the delivery address, shipping method, packing quantities and which transport costs are included in the quote. The published PVC and action figure FAQs describe T/T payment as a 30% deposit with the 70% balance before shipment; confirm the terms for your own order.
Understand MOQ, timing and the cost breakdown
The custom PVC figure service currently lists a minimum of 20 pieces per color. Its timing guidance mentions 30–40 days for molds, roughly two weeks for manufacturing after molds are ready, and a production target within 50 days, with variation by design, colors and quantity. Ask for a project-specific schedule: those estimates should not be treated as an arrival-date guarantee or blindly added together.
Have the quote separate design work, prototypes, tooling, production, decoration, packaging and shipping. Compare quotes using the same scope. A low unit price can be difficult to evaluate if molds, accessories or packaging are listed elsewhere.
If the budget is tight, ask for alternatives tied to a concrete change: fewer separate parts, a simpler paint layout, fewer colorways or different packaging. Request an updated sample or drawing when an alternative changes the appearance. That makes the trade-off visible before you approve it.
Send a complete first inquiry
Prepare one folder with the latest drawings or 3D file, dimensions, color references, quantities, packaging idea and desired delivery date. Add a short list of questions that need a manufacturer's recommendation. Clear inputs make it easier to compare a proposed process and quote.
Explore Naluga's custom toy services to choose the closest starting point. If your concept includes moving joints, the custom action figure service is a useful place to discuss the part layout and prototype checks.
Frequently asked questions
Can I start with a drawing instead of a 3D file?
Yes. Naluga's PVC and action figure FAQs say a 2D design can be converted to a 3D model for an additional fee. STL and OBJ files are accepted. Include dimensions and reference views with either option.
What is the minimum order quantity?
The published PVC and action figure service FAQs list 20 pieces per color. Confirm the minimum for your chosen material, design and color split when requesting a quote.
How long does manufacturing take?
The PVC service FAQ gives mold timing of 30–40 days and around two weeks of manufacturing after molds are ready, with a production target within 50 days that varies by project. Confirm design approvals, revisions and transport separately in a dated schedule.
What should I approve before mass production?
Agree on the design version, prototype, trial parts and painted reference, then confirm packaging and inspection requirements. Keep a written record of the sample and any corrections approved for production.