How to make vinyl toys in factory,step by step
Here, based on the on site production of vinyl toys in the toy factory, the article will show you how to make vinyl toys in a factory. This will help you to gain a better understanding of the vinyl toy production process and to make a better plan for your own toy production schedule.
In fact, the term "vinyl toy" derives from a plastic molding manufacturing process. People often mistakenly assume that "vinyl" in the name refers to the material, but it actually denotes a specific process—specifically, the rotational molding process employed during production. This process is widely used across various industries, with art toys being one of its common applications. Toys produced through this process are known as "vinyl toys" or "vinyl figures."
The main process of vinyl toy making in factory
Here, we won’t elaborate on the design process of vinyl toys,but focus on production process in the toy factory.
Rotational casting is a crucial part of vinyl toy production, also known as rotomolding,all other processes serve as auxiliary to this core manufacturing step. Workers inject PVC paste resin into metal molds using a glue gun, then seal the molds, push the entire tray of molds into a high-temperature oven, and rotate the tray. The flowing PVC plastic is heated and rotated inside the molds, which allows it to uniformly coat the inner walls of the molds and cure. After cooling, hollow vinyl toy components are obtained. This production method ensures that vinyl toys do not have mold lines like those produced by injection molding, resulting in a smooth, seamless surface. Additionally, the toys are hollow with adjustable weight and offer greater flexibility in design, making them highly popular among toy enthusiasts.
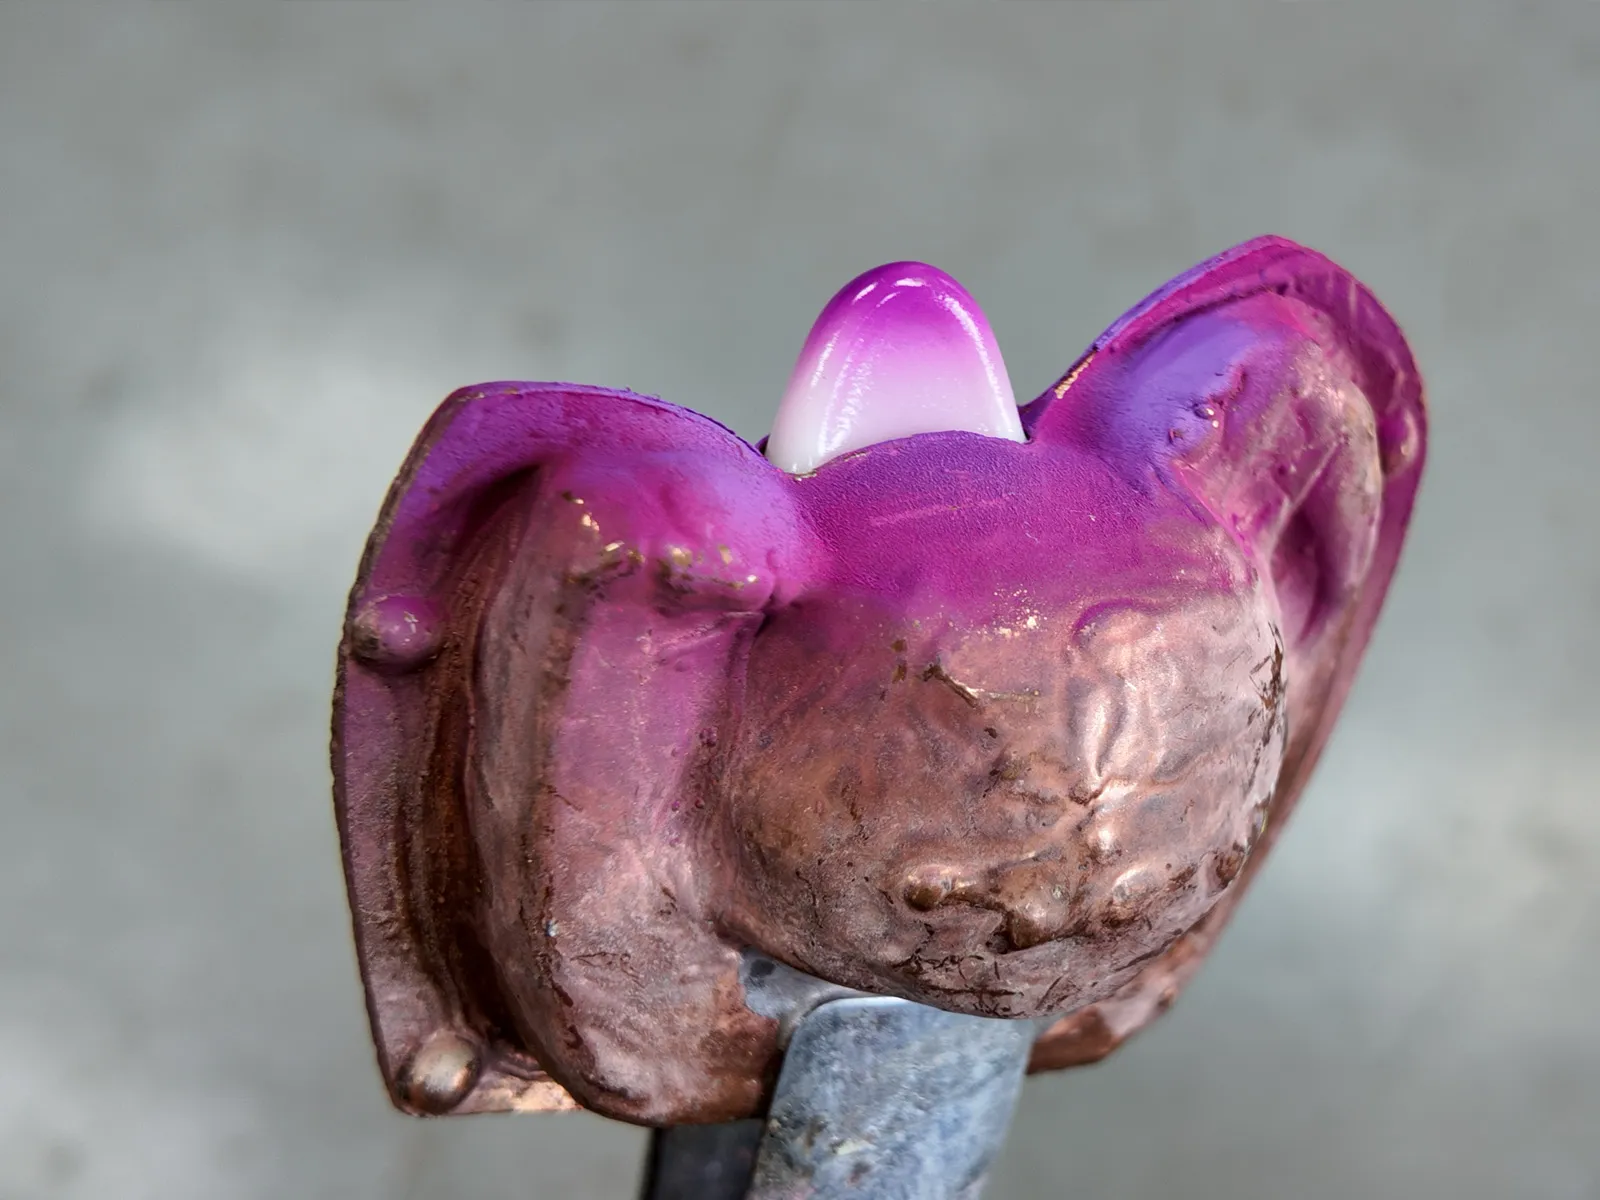
Step 1. Inject PVC paste resin into vinyl molds
Workers are always using a glue gun to inject PVC paste resin into vinyl toy molds. PVC paste resin should be prepared in advance, And add colorants of the corresponding shade and stir thoroughly. The amount of PVC paste resin injected into the mold cavity also needs precise control, which can usually be adjusted on the glue gun.
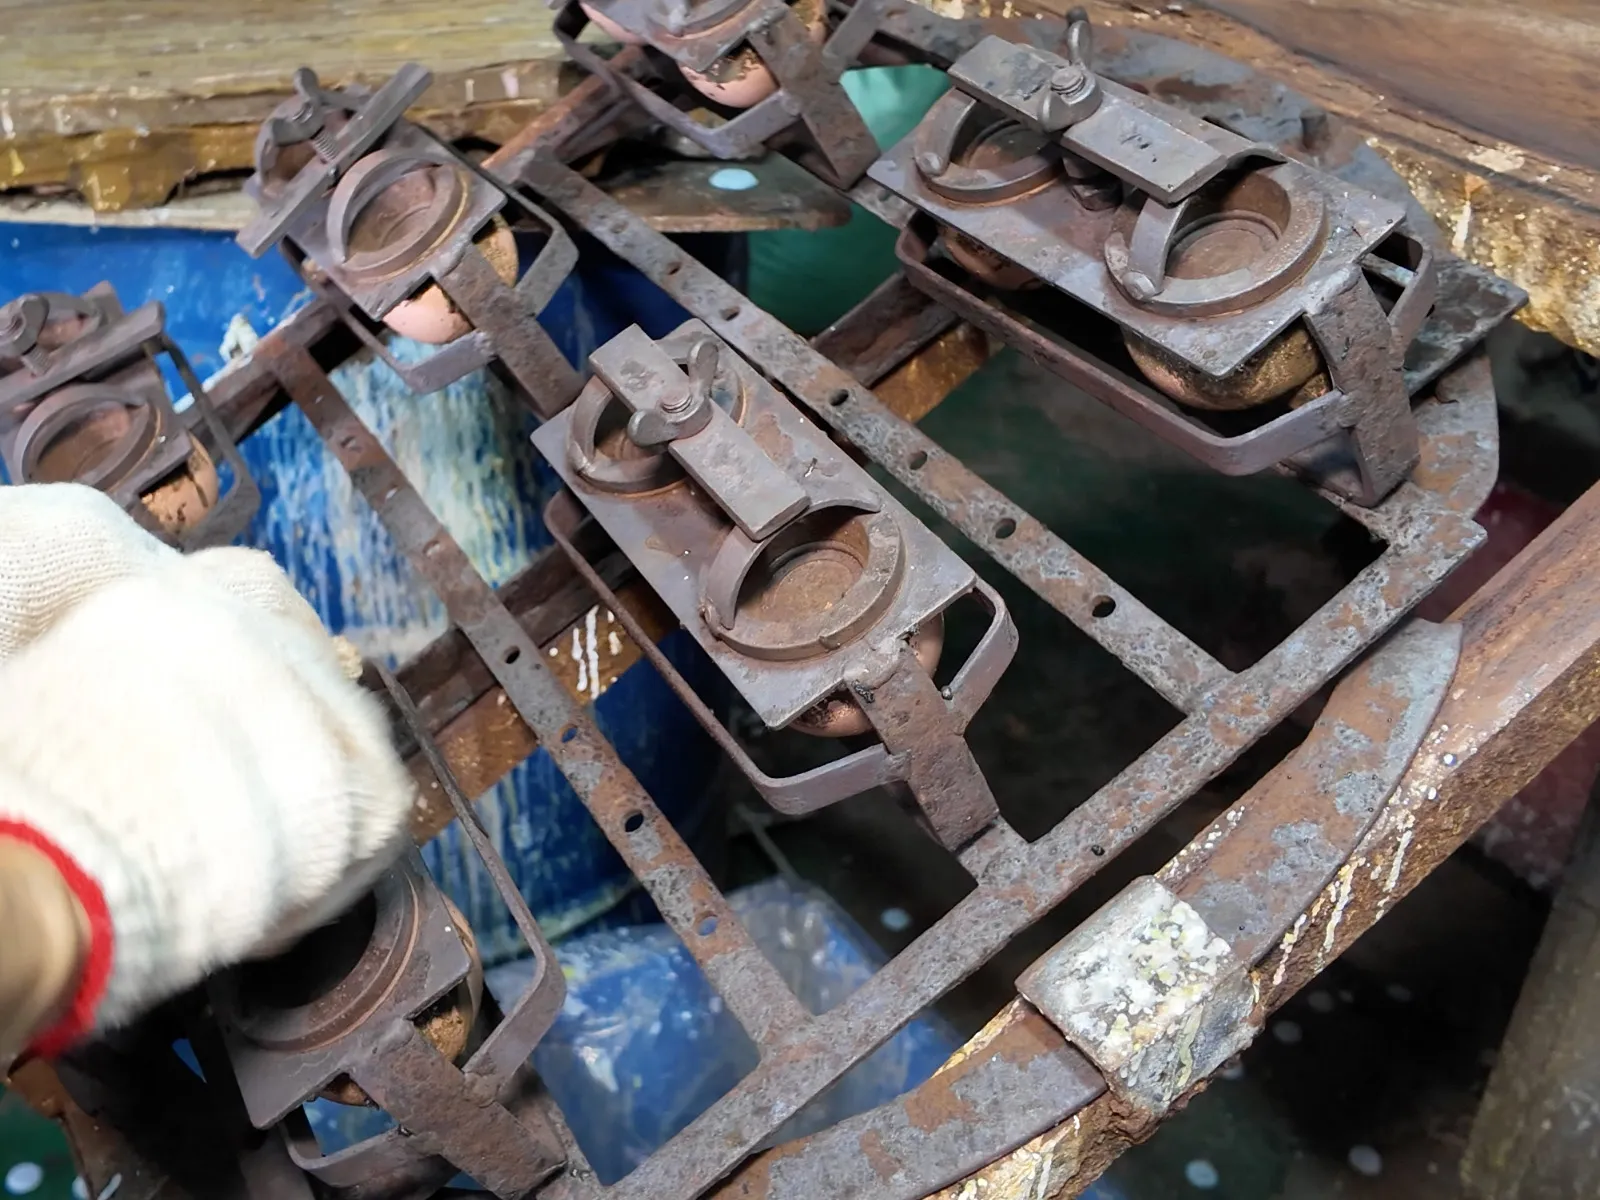
Step 2. Tighten the sealing buckles on vinyl molds
The sealing buckles on top of the mold need to be tightened to prevent PVC liquid from leaking during the rotational heating process, which would cause defects in molding. If not properly tightened, potential safety accidents may occur. Some vinyl molds are manually fastened, and some require tools such as wrenches.

Step 3. Push molds into the oven for rotational heating
With the help of rails and manual labor, push the vinyl mold tray assembly into the oven. It is heated while rotating, usually taking 3 to 5 minutes to allow the liquid PVC to uniformly adhere to the inner walls of the mold cavities.
Step 4. Remove the mold from the oven and cool it with water
Using tools to remove the vinyl mold from the oven and place it on the bracket of the semi-automatic cooling machine. Start the cooling machine to submerge the mold tray in cold water for rapid cooling. This cooling process ensures better molding of the vinyl toy components inside the mold and reduces the air pressure within the cavities.
Step 5. Remove the vinyl toy components from the mold
Place the cooled vinyl mold on the tray, open the latches on top of the mold, use pliers to pull out the molded toy components from the mold cavities, temporarily place them in a frame, and let them cool naturally.
Step 6. Trim the excess material from the joint areas of the mold
Excess PVC waste, also referred to as flash, tends to form around the mold’s sealing buckles and must be trimmed manually. At this stage, a single vinyl toy component is basically finished, with subsequent processes like spray painting and assembly remaining to be completed.
Paint or draw the details of the vinyl toy
Typically, adding color to the liquid PVC only serves to give the toy its base overall hue. However, certain details such as the eyes, eyebrows, clothing, and other decorative elements on the main body—usually require further painting.
Finely hand-paint the detailed patterns on the vinyl toy

Generally, hand-painting is required for small-batch production, or for corner areas where pad printing or spray painting fails to meet the required standards. Workers need to prepare the specified colors and use special painting brushes or pens for hand-painting, followed by air-drying after completion.
Pad printing: batch printing of patterns onto toys

Pad printing is the most efficient and accurate method for detailing toys, and it is generally semi automated. Operators place the vinyl toy components into the designated fixtures of the pad printing machine. The pad of the equipment is inked according to preset programs, then moves to the position of the toy components and applies pressure, transferring the ink onto the surface of the components to complete the pad printing process.
Spray painting: for large area coloring
Typically, spray painting is used to meet the large-area coloring needs of the toy body. It can produce solid colors as well as gradient effects. The process usually requires the use of jigs, with holes made at designated positions to prevent over-spraying on unintended areas. Since the paint is generally harmful to the human body, the operation must be carried out with the support of an exhaust gas collection duct system.
Air dry the semi finished vinyl toy and await packaging
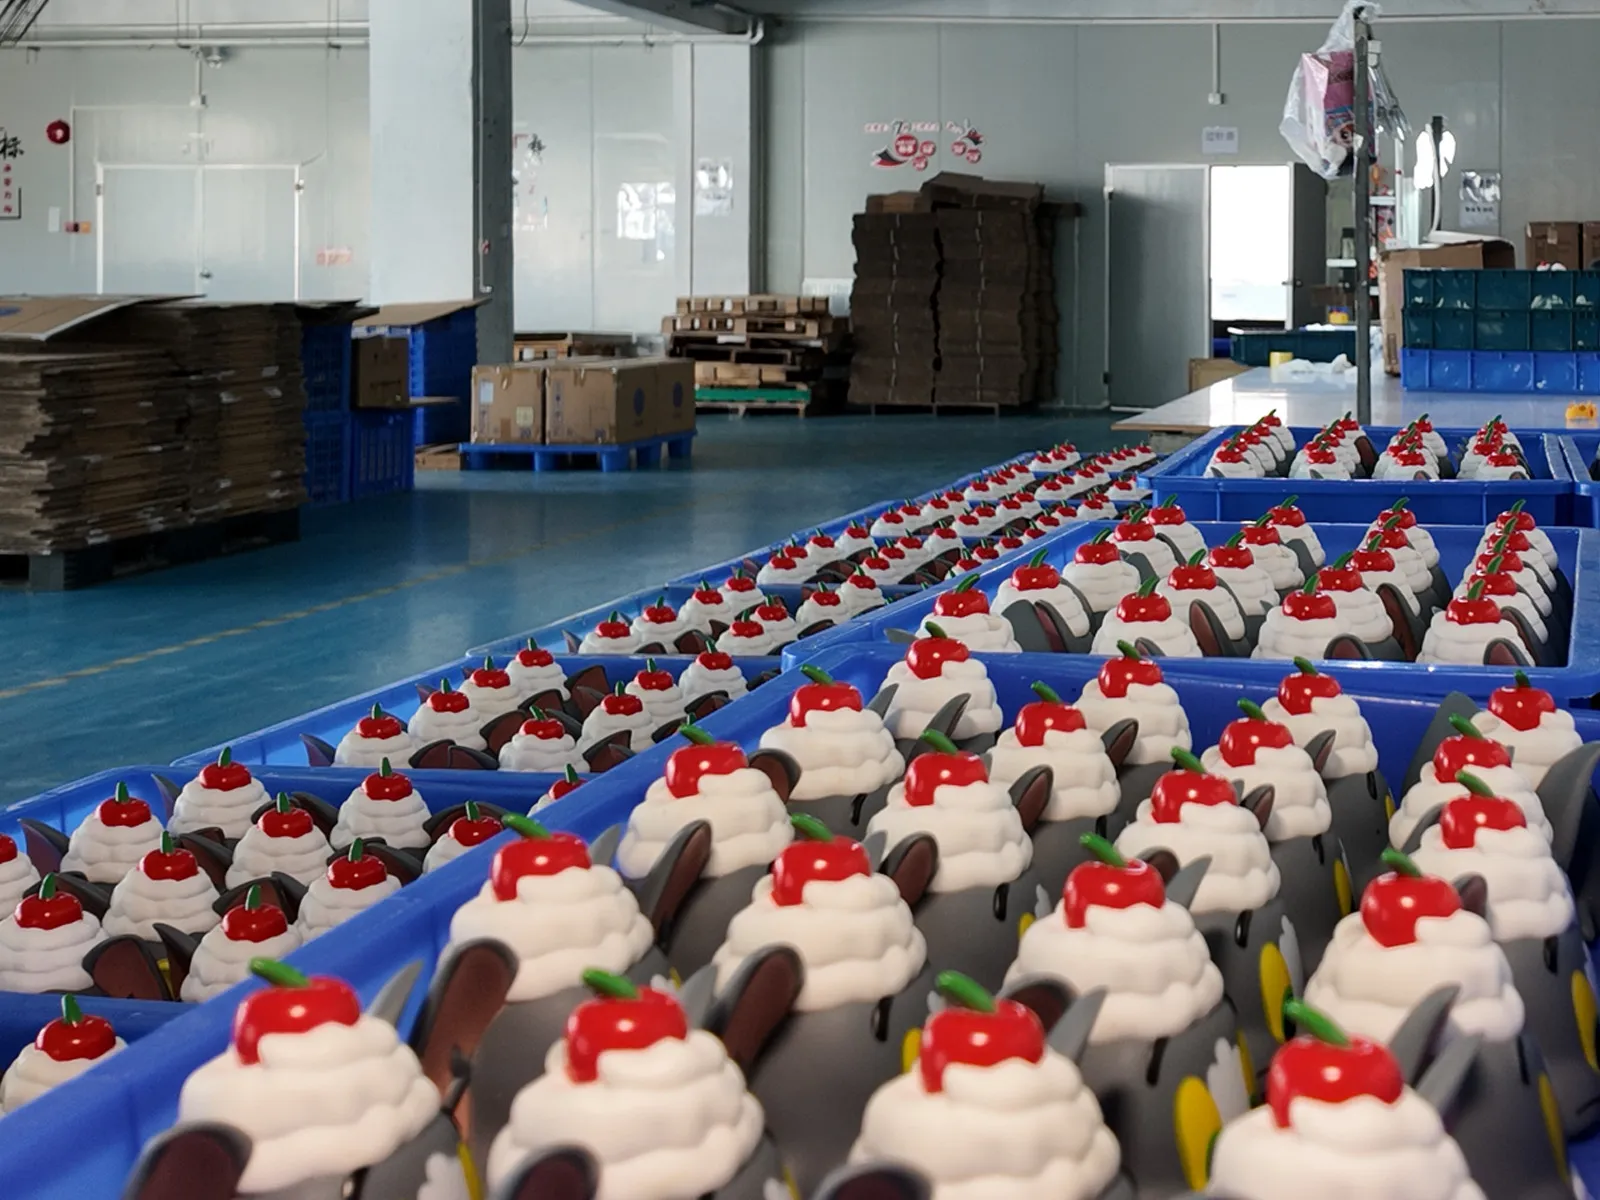
The semi-finished products need to be left to stand in a dry and well-ventilated environment for a period of time to air-dry the ink and eliminate the odor, before waiting for packaging and shipment. At this point, the entire production process of the vinyl toy is completed.