Vinyl Toy Production Starts With a "Click" From the Injection Machine
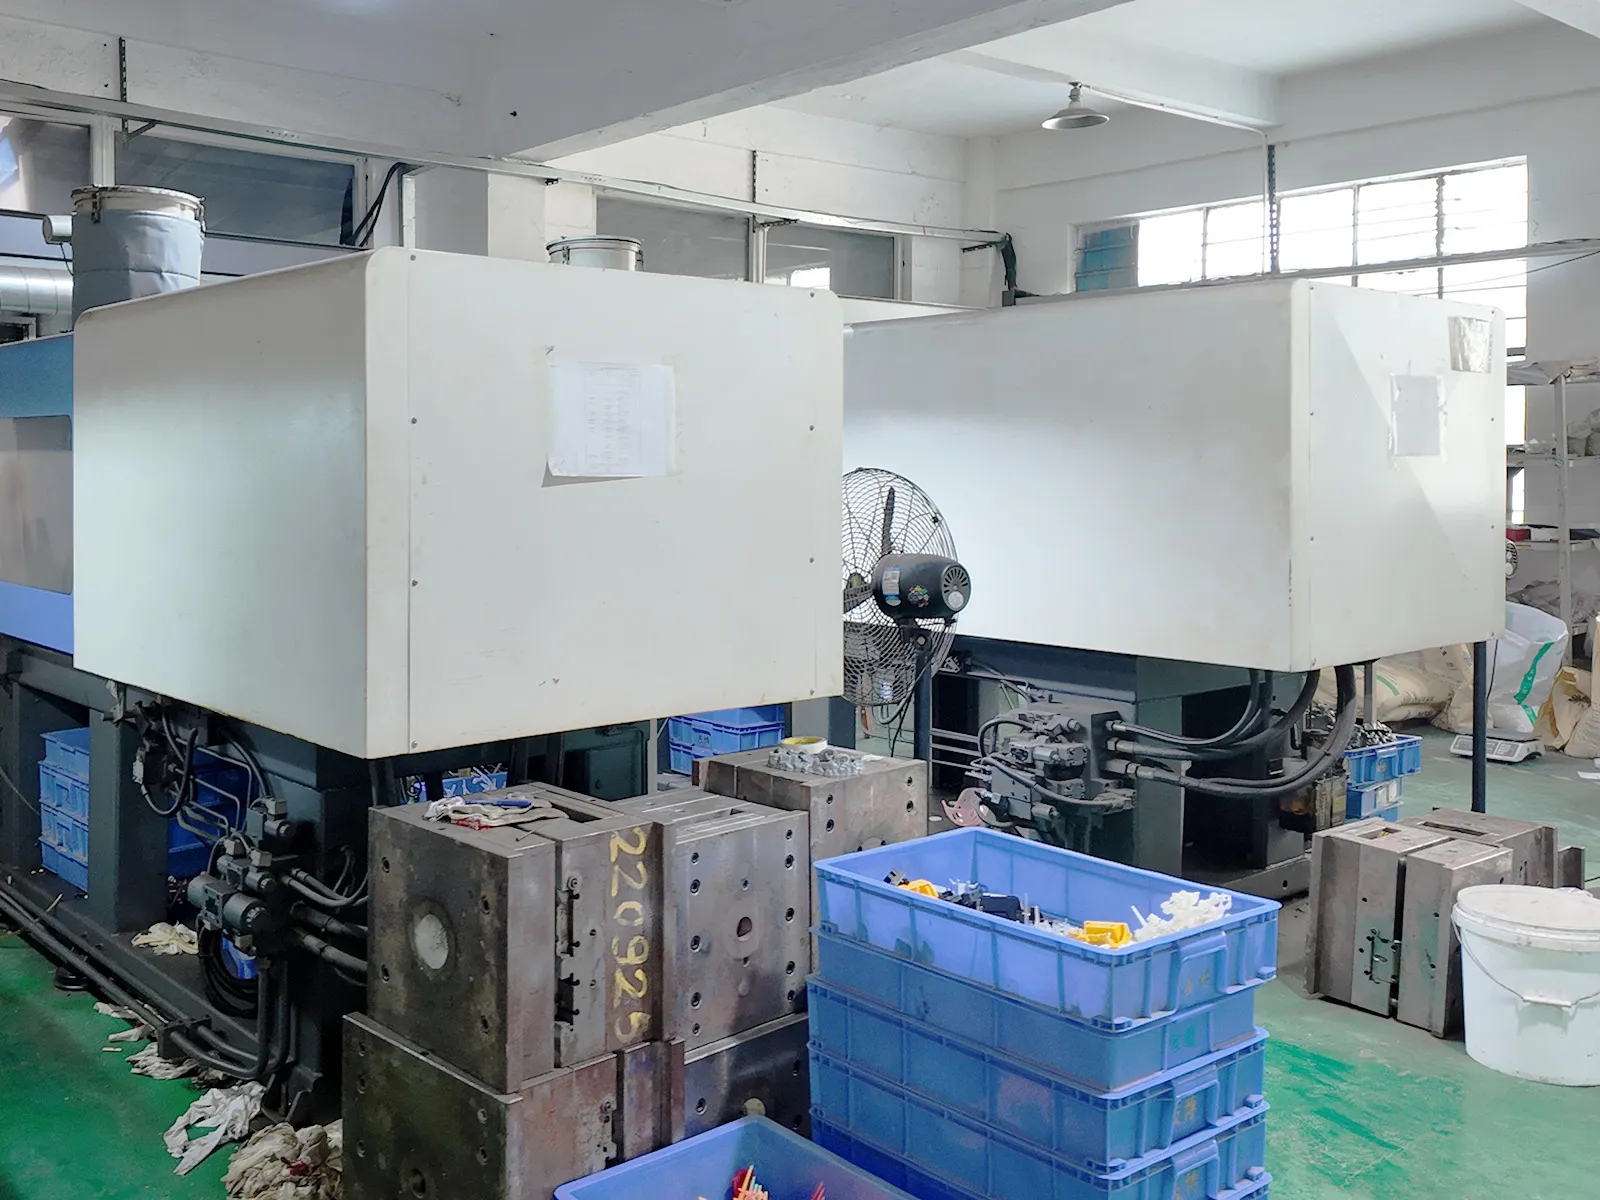
There's a particular sound on the vinyl toy production floor. The machine clamps shut — click. Then it opens after the shot — click. Every ten-odd seconds, all day long, tens of thousands of times. And every time it clicks, another part gets ejected from the mold, ready to move on down the vinyl toy production line. No matter how simple the final product looks, vinyl toy production pretty much starts with that click.
Half the Work Happens Before the Material Even Reaches the Machine
Outsiders think vinyl toy production is just dumping plastic into a machine, melting it, and shooting it into a mold. In reality, by the time raw material touches the barrel, the workshop has already been busy for a good while. Blending is the first order of business. Production lines in vinyl toy production rarely use 100% virgin material. The gates and runners trimmed off the previous batch — known in the trade as "runner scrap" — get ground up and mixed back in at a set ratio. Get the proportion right and you save money without hurting quality. Tossing in 20–30% is usually fine.
Then comes coloring. Want a bright red car body for your next vinyl toy production run? Mix red colorant or masterbatch into the raw pellets before molding. The finished part comes out red through and through — a scratch won't reveal a white core underneath. You can paint parts later, sure, but molded-in color is more even, adheres better, and makes vinyl toy production a lot faster overall.
One step you absolutely cannot skip: drying. Most plastic resins used in vinyl toy production are hygroscopic — PA nylon is particularly notorious; leave it in the open air overnight and it'll soak up a noticeable amount of moisture. Feed undried material into a mold and the parts come out covered in silver streaks and bubbles, or they're scrap outright. So before anything goes into the machine, the moisture content has to be brought below the allowable threshold in a hopper dryer. ABS generally needs to be under 0.1%; PA, below 0.08%. Different materials call for different drying temperatures and durations — you can't just give everything a casual bake and call it ready.
A Few Seconds Make or Break the Part
With material prepped, the actual injection stage of vinyl toy production begins. Pellets drop from the hopper into the heated barrel. The screw rotates and pushes forward while the barrel temperature ramps up zone by zone from rear to front, bringing the plastic from room-temperature granules to a 200–300°C melt. By the time it reaches the nozzle at the front, the plastic is a fully flowing liquid — ready to be shot into the mold that will define this vinyl toy production cycle.
Then the screw surges forward, driving the melt at high speed into the closed mold cavity. Injection pressures in vinyl toy production typically run 50–150 MPa — imagine hundreds of kilograms of force concentrated on an area the size of a thumbnail. Filling a complex cavity usually takes just a few seconds; small parts can be done in under a second. Anything goes wrong in those few seconds and the part is scrap. Under-fill it and you get a "short shot" — the part is missing a chunk. Fill too fast and the plastic seeps through the mold parting line, creating "flash." Inconsistent speed leaves weld lines and flow marks, both common headaches in vinyl toy production.
After the shot, you don't just open the mold right away — the screw holds pressure for a while longer. This is the "holding pressure" phase. Its job is to feed in extra material to compensate for volumetric shrinkage as the plastic cools, preventing sink marks on the part surface. Holding time correlates with wall thickness: thicker parts need longer holds, thin-walled ones less. Once holding pressure ends, the cooling phase begins. The mold is riddled with internal water channels; chilled water circulates continuously, pulling the plastic from melt temperature down to a safe ejection temperature. Finally, the mold opens, ejector pins push the part out, and one vinyl toy production injection cycle is complete.
Mold Making Is Where the Real Skill Lives
Anyone can buy an injection machine. The mold is what separates the vinyl toy production pros from the amateurs. A mold consists of three main systems: the runner system, the cavity components, and the structural components. The runner system channels the melt from the nozzle into the cavities — from the main sprue through branch runners to the gates, tier by tier. The cavity components are the cavities themselves, directly dictating the part's shape and dimensional accuracy.
Mold design for vinyl toy production has some hard constraints. Multi-cavity molds must fill every cavity evenly — whichever cavity fills slowly is the one that ends up with short shots or weld lines. Poor cooling-channel layout means uneven cooling rates across the part, and what comes out is warped and bent — a common defect in vinyl toy production. Insufficient draft angle and the part won't eject; force it out and it deforms or stress-whitens, or outright cracks. These issues all have to be tracked down and corrected during the trial-mold stage, which follows a strict procedure: verify material and temperatures first, then progressively fine-tune shot stroke, injection speed, holding pressure, and cooling time. After every adjustment you wait for the machine to stabilize — at least half an hour of running before you can judge the result. All parameters get logged for reference when full production begins.
A precision mold can run anywhere from tens of thousands to over a million in cost, with development cycles measured in months. That's why vinyl toy production only makes sense for large-volume orders — if your quantities are too small, the tooling cost per part becomes untenable.
Runner Scrap Doesn't Get Thrown Out — It Gets Ground Up and Reused
After a part is molded, the gate leaves a mark on the surface. A worker has to clip or trim off the "runner stub." Those trimmed-off scraps, along with rejected parts from inspection, don't go in the trash. They go into a granulator, get ground back into pellets, and are blended into virgin material at a set ratio for another run through the vinyl toy production machine. Regrind does take a hit in mechanical properties, though. Use too much and the finished parts turn brittle and lose surface gloss. Most factories keep it between 10% and 30%, with the exact ratio depending on customer specs. Some premium clients explicitly require 100% virgin material — no regrind allowed.
A Good Process Technician Is Worth More Than the Machine
There's a saying in the vinyl toy production trade: a great machine with a lousy technician still turns out lousy product. Temperature, pressure, speed, time — these four parameters all influence one another. Change one and the other three shift with it. So there's a cardinal rule when setting up: adjust one parameter at a time, wait for things to stabilize, then assess. Tweak two or more simultaneously and the vinyl toy production process goes haywire — parts fluctuate between acceptable and defective, and nobody can tell which variable is doing what.
A seasoned vinyl toy production setup hand can pick up a freshly molded part, glance at the surface gloss, feel the seam, heft the weight, and pretty much know which parameter needs a nudge and by how much. That kind of instinct isn't something a few days of training can teach — it's earned through thousands of parts. The real experts in vinyl toy production command salaries far above what a machine operator makes, and factories still compete for them — because one parameter set wrong can push the scrap rate from 2% to 20%, and the material losses dwarf any wage difference.
Injection molding is only the first step in vinyl toy production. Once the parts come out, they still have to go through spray painting, pad printing, rotocasting, assembly, and more before they become the finished product on the store shelf. We'll get into those processes next time.