Ultimate Guide for Custom Vinyl Toys - A Roadmap to Success
The process of creating a physical representation of a character is extremely rewarding. Custom Vinyl Toys is an exciting blend of artistic vision with industrial manufacturing.Understanding the process is essential for brands, creators and businesses to achieve success.
This comprehensive guide dives deep into each stage of producing customized vinyl toys. You will gain the knowledge you need to navigate through the complexities involved, communicate effectively with manufacturers, and avoid costly mistakes. This roadmap will help you turn your ideas into high quality vinyl toys.
Phase 1, The Blueprint stage, Confirmation of the custom vinyl toys design and foundational planning
The first phase of your custom vinyl toys is the most important. The primary reason for budget overruns is rushing through the planning process. This is the stage where a creative idea becomes a practical blueprint.
A successful vinyl toy relies on your manufacturing partner receiving complete and unambiguous designs files. This is much more than a sketch or a one-angle rendering. This includes a 2D sheet which offers orthogonal front, side and back views. This allows the factory engineers to fully understand the toy silhouette from every angle. digital model, which is typically in STP format or IGS, is even more important. This file is your custom vinyl toy's digital DNA; it will be used to program machines that carve the mold. A detailed, accurate 3D model will prevent misinterpretation. It also ensures that the factory can give an accurate timeline and quote.
After you've confirmed the basic specifications, it's time to finalize the details that will determine the appearance, feel and price of your customized vinyl toys. First, you need to decide on the material. Polyvinylchloride has been the industry standard since its inception. It's cost-effective, versatile and you can adjust the hardness of the material (measured by the Shore A scale). It allows you to decide whether your custom vinyl toys will be soft and squishy or firm and rigid. TPR (or TPE) offers a good alternative for those who want to target a premium or environmentally-conscious market. TPR-based custom vinyl toys boast a softer, superior touch and are often compliant with stricter international environmental and safety standards.
Wall thickness is also a vital specification. The size of your custom vinyl toy will directly determine the thickness of its vinyl wall. The balance must be struck between cost, weight, and structural integrity. Toys with thin walls are more fragile and susceptible to deformation. This is particularly true of larger figures. Walls too thick can make the product heavy (which increases shipping costs) or use more material (which increases production costs). Your factory engineer's expert advice will be provided, but as a general guideline, the thickness of walls should range from 0.8-1.2mm on small toys up to 10cm in size, 1.2-2.0mm on medium toys between 10-30cm and 2.0-3.0mm (or more) for large structural pieces above 30cm. The final step is to choose the surface finish of your custom toys. You must decide whether you want the surface of the mold to be a high-gloss finish, matte, or fuzzy.
The final step in the planning process is the design phase. We can help you decide on the best colors and graphics to use. Screen printing can be used to create simple logos with bold colors and blocks. waterslide (hydrographics) decals are best for incredibly complex patterns that wrap the entire toy. Pad printing can be used to add small details, such as the eyes of characters or text. It is time to prototype any joints that are needed to produce and assemble your custom vinyl toys.
Tips:
Many clients only provide renderings from a single angle, which can cause factories to overlook potential process difficulties (such as chamfers that cannot be demolded and structures with uneven wall thickness) when quoting. As a result, additional modification fees are ultimately charged. The more detailed the design materials provided, the more accurate the initial quotation will be, and the fewer subsequent disputes there will be.
Phase 2, The Prototype phase And simples ,make Sampling and Refinement
This is the phase where you can take your two-dimensional drawings and turn them into three-dimensional objects. The most collaborative and iterative stage in the creation custom vinyl toys is this. This stage requires patience and attention to detail. It will prevent you from experiencing financial and emotional losses during mass production.
We will make a mold to create the first samples. These are almost always made out of aluminum. Aluminum molds are much cheaper and quicker to produce than steel molds. They are therefore ideal for the prototyping phase where multiple adjustments will be required. 3 to 5 rounds is a common practice to ensure that your vinyl toys are perfected.
It is important to evaluate the first test sample. It is important to be systematic and thorough in your inspection. Start by assessing the appearance and feel. Compare the sample with your original designs. Are the dimensions correct? Is it accurate to say that the silhouette is correct? You should pay close attention to the facial features and symmetry as these are frequently the focal points of custom toys. Physically handle the sample. Is the vinyl quality up to your standards? The weight of the toy is it appropriate? Next, conduct a color review. Comparing the sample with your Pantone official color guides is a good idea. Although minor color changes can occur, it is important to address any significant color shifts by immediately adjusting paint formulations.
Next, perform a ruthless Quality Inspection. Examine the entire surface of the product under bright light. You should look for any imperfections in the manufacturing process, such as small air bubbles, visible seams, where the mould closed, or areas that the vinyl was not completely filled (known as "short shots") You can test the durability of printed graphics by lightly scratching them using your fingernail. If the vinyl toy has articulation, test it thoroughly. The joints should be moved repeatedly. Do they sound like they are too stiff, too sloppy, or cracking? After 50 movements, a joint will fail and cause a lot of problems in the hands of a child.
Artfully providing feedback that is actionable and clear is a skill. Never accept vague directions. Give your factory a detailed written report accompanied by clear photos. Mark up your photos: draw arrows indicating misalignments and circle any flaws. Give clear instructions. As an example: "Issue B: Right eye misalignment. Move the eyeprint 0.5mm left and 0.2mm up. Please see the attached photo. This level is of clarity ensures that you are able to communicate your vision and design for the Custom Vinyl Toys.
Phase 3, Production Mold and Simple Validation
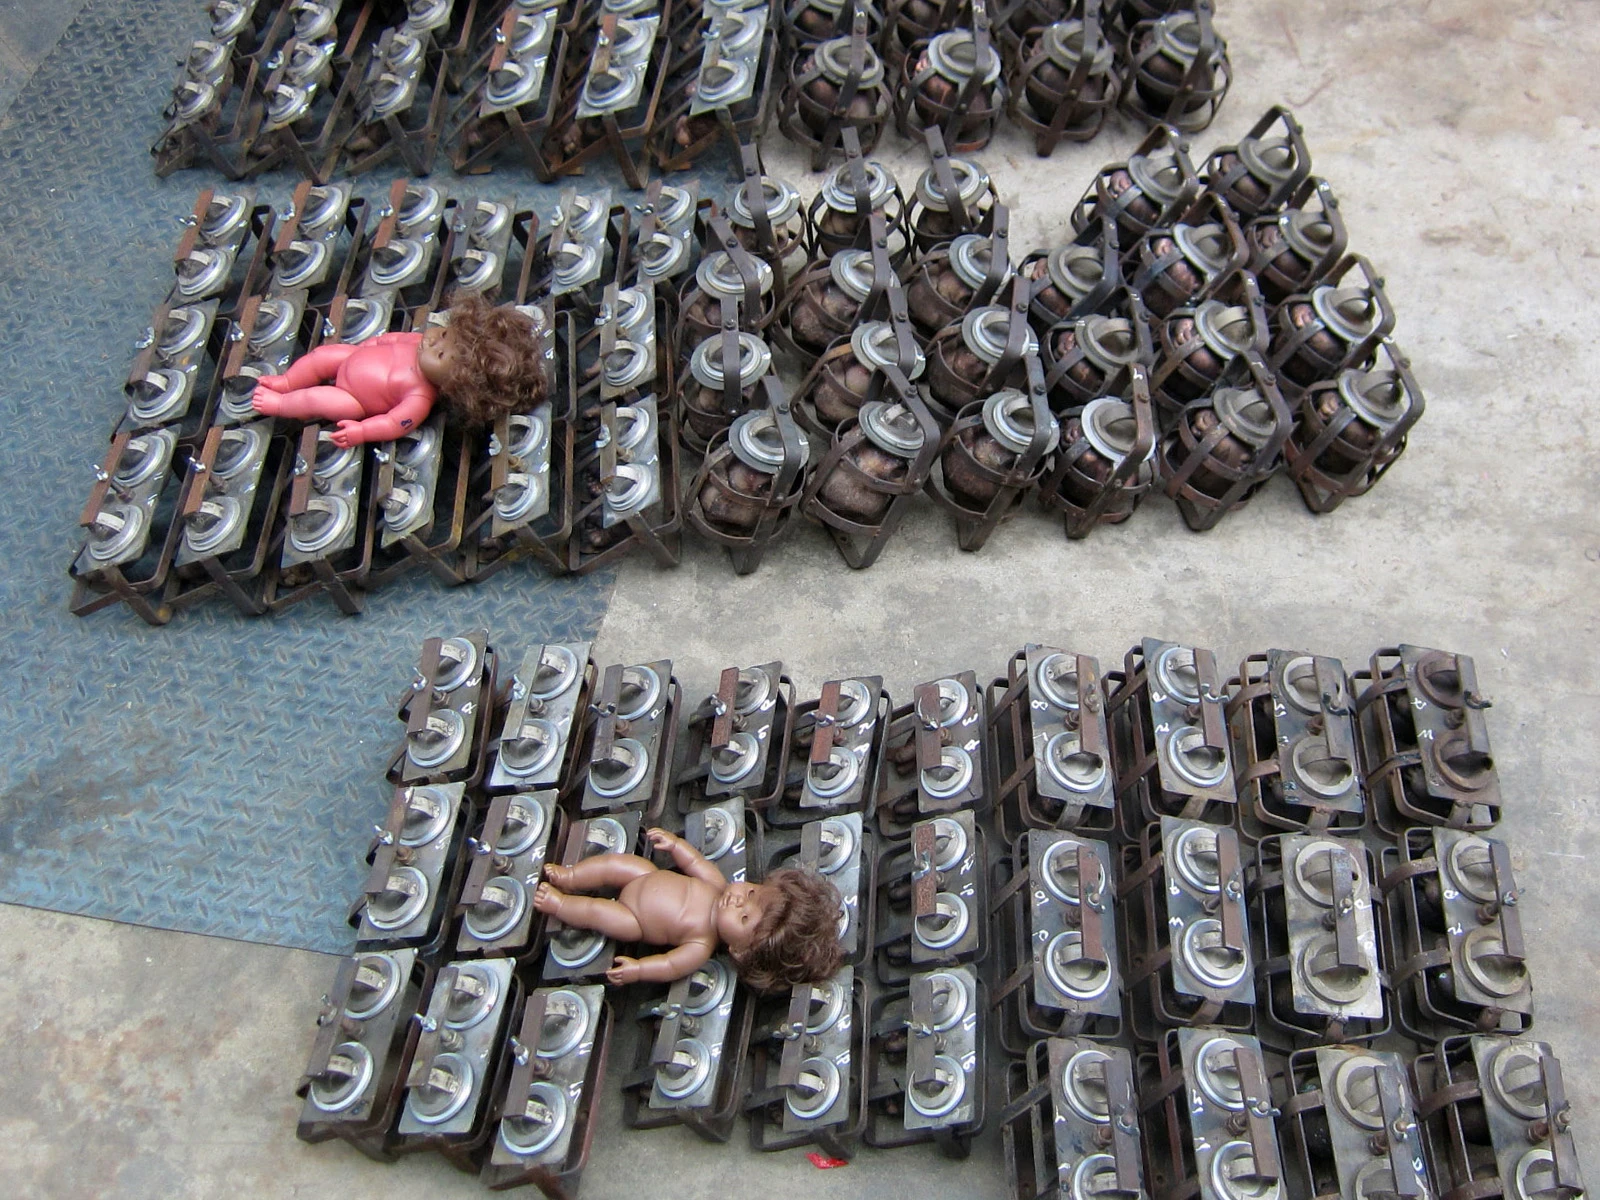
We will start investing in your production run once you have approved the perfect prototype: the mold. It is an investment that will last a lifetime in terms of quality and consistency for your vinyl toys.
Your projected order volume will determine the choice of tool steel. When producing large quantities of more than 2,000 pieces, it is important to invest in high-grade tooling steel . P20 steel has a high hardness, is resistant to corrosion and wear, and can endure the heat and pressure associated with hundreds of thousands or more production cycles. It ensures that every custom toy is of the same high quality. For large orders, it is a mistake to use a cheaper, soft steel because the mold will wear quickly. This leads to visible partings, excess vinyl, and an increasing number of defects over time.
Before production at full scale can start, the new steel mould must undergo tests. This is a crucial quality control measure. The factory uses the production mould to produce a small batch (20-50 units). is used to test the mold, not to make a saleable product. Engineers carefully examine these test photos for any issues. Are the Pai Qi Kong holes (venting slots) on the mold sufficient to avoid air bubbles? Does the vinyl adhere evenly to the entire mold surface to maintain a uniform wall thickness? Does the part come out cleanly and without any damage? If any imperfections are found, the mold is finely polished and adjusted to fix them. The mold can only be used for mass production if the test shots pass the quality standards.
Phase 4, Production at mass scale and rigorous quality control
This is the phase where you will see your project grow. From prototyping, the focus is now on maintaining consistent quality across thousands of pieces. Quality Control Protocols (QC) are essential for the production of reliable vinyl toys.
The production process of custom vinyl toys consists of a number coordinated steps. The vinyl pellets heated into liquid form are injected in rotating molds. The rotating molds are heated in a large, spinning oven so that the liquid vinyl can coat the interior walls uniformly and create the hollow shape. After cooling, workers de-mold the raw vinyl components (known as “blanks” or “white casts”) and trim away any excess material. These blanks move on to the paint stations, where they're spray-painted and printed before being assembled.
Quality control does not occur at the end, but is an ongoing process. Line workers carry out In Process Quality Control (IPQC). They check the raw blanks of vinyl for defects, such as bubbles or warping. The painting stations pull samples regularly to verify color accuracy against the master sample. Tests are performed to determine the adhesion of printed graphic using the "crosshatch and tape" test. This involves scoring a grid into the print, applying special tape and then ripping it off.
After assembly, each custom vinyl toys goes through a final quality control (FQC). Each piece of vinyl is individually graded and sorted.
Tips:
Grade B: Flawless. Perfect paint, no scratches, perfect assembly. Ready for retail sales.
Grade C: Has minor flaws that are often not noticeable. For example, a tiny dust particle in the paint. These units may be sold at a discounted price or used as promotional items.
Rejects Are those with obvious flaws, such as major paint mistakes, significant scratches, misassembled or structurally flawed parts. These items will be thrown away to protect the integrity of your vinyl toys.
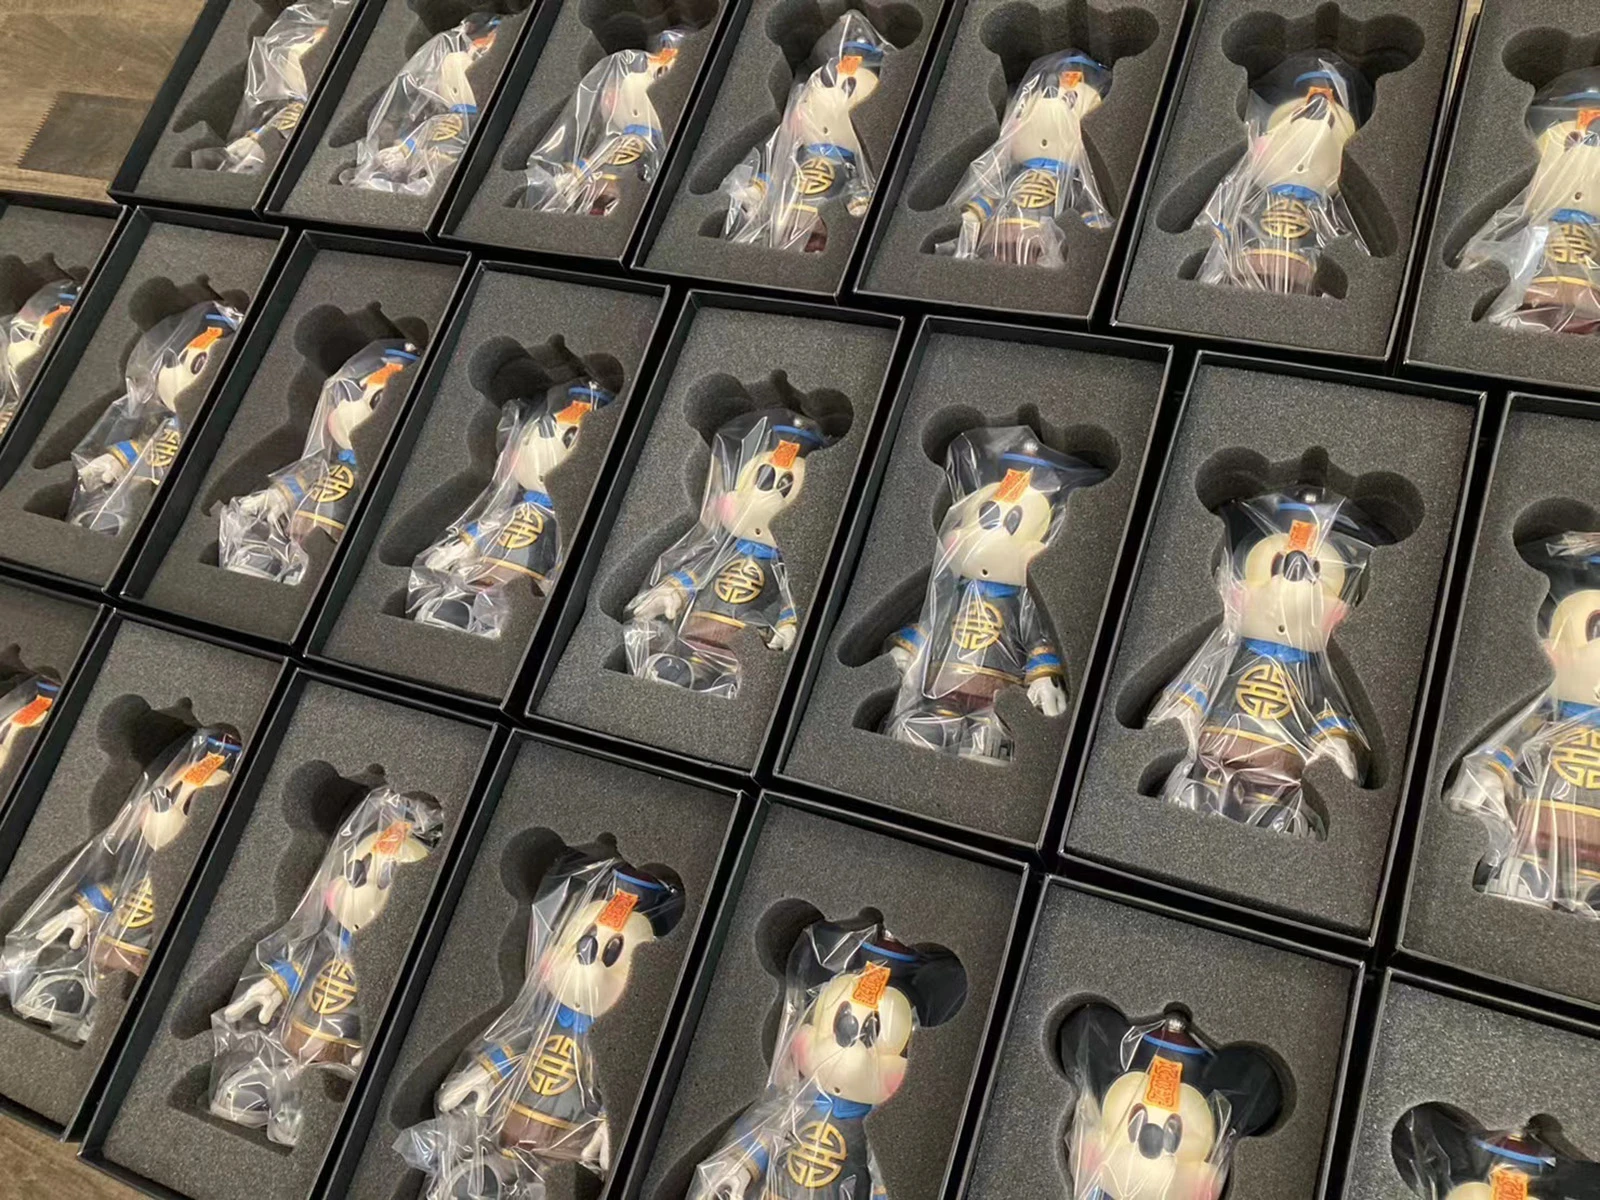
Phase 5, The Final Presentation: Packaging and Logistics
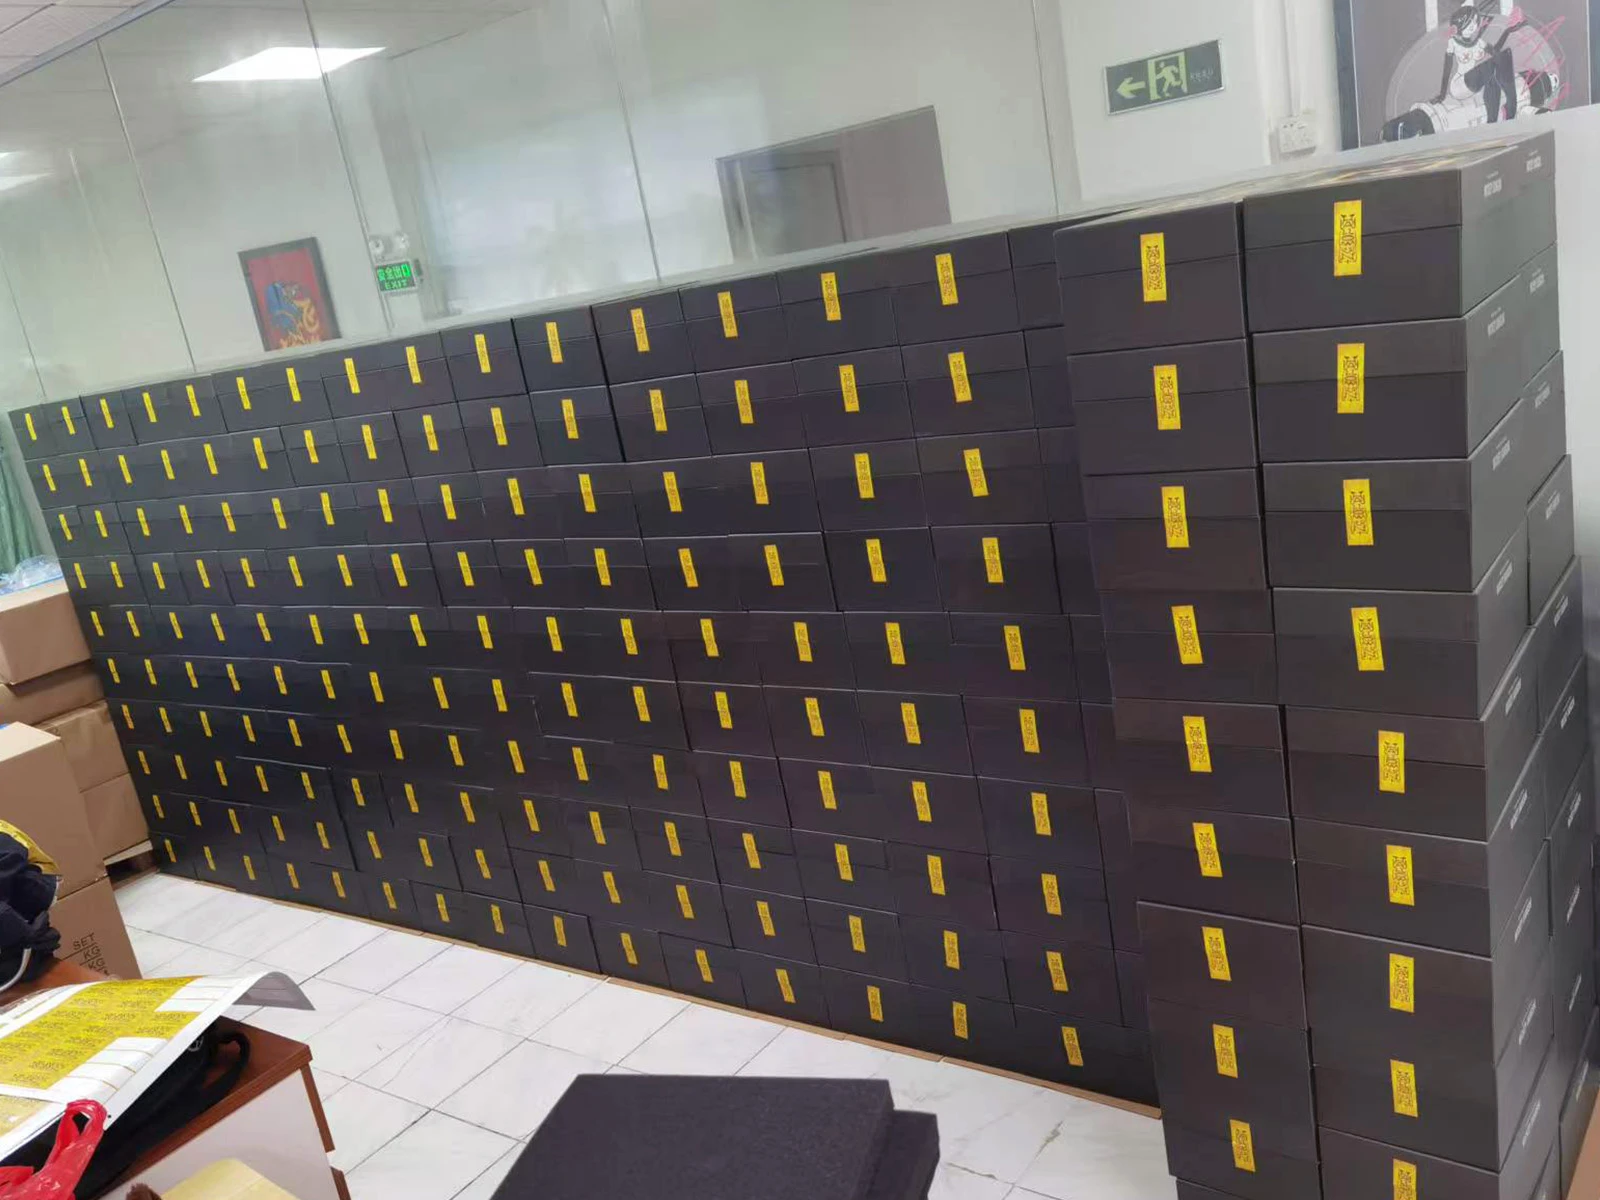
Your perfect toys require perfect protection. Safe shipping and unboxing are essential to the product.
will always approve any physical packaging sample. Insert your custom Vinyl toy into the proposed box. It should fit tightly without being squeezed. Does it squeak? To prevent damage and scuffing, the packaging must securely hold the toy. Verify the spelling, logos, matching colors, and all mandatory safety labels on the box.
When toys are ready to be shipped, check that the factory is using corrugated cardboard shipping boxes. For safe handling, boxes should not overfill and weights should not exceed 20kg. Each and every shipping carton must clearly and boldly be marked with "Fragile," Handle with Care," or "This Side Up." Each carton should be marked with a unique pack code (e.g. : "Box 1/10"). It is a good idea to purchase shipping insurance for large and valuable shipments of custom toys.
Phase 6, Support and Future Projects
After the goods are delivered, your relationship with us does not have to end. When you receive your goods, perform your own randomly selected inspection. Open cartons at the top, the middle and the bottom of the pallet to check the quality. This ensures that QC is maintained throughout the production run.
Core Advice to Avoid Customization vinyl toy Pitfalls and Ensure Success
Design Stage: The more detailed the design materials you provide, the lower the risks in later stages.
Sampling Stage: Don’t be afraid of trouble—patiently revise until the sample is completely satisfactory. This is the most cost-effective opportunity to correct mistakes.
Contract Stage: Clearly document all process parameters, quality standards, and responsibility divisions (especially regarding defective product handling and liability) in black and white in the contract.
Communication Stage: Confirm all important communications via email or written documents whenever possible, avoiding verbal promises.
Quality Inspection Stage: If possible, commission a third-party quality inspection company to conduct a During Production Inspection (DUPRO) at the mid-production stage to nip risks in the bud.